Notes added for a selected block of lines of a file is the most general way of storing knowledge about your code. Check the rationale behind notes and let’s start adding them.
Adding notes
Our goal is to make adding notes quick, easy and straightforward. So that engineers interrupt their “flow” state less. Right now there are several ways of making docs, which covers the majority of the use-cases developers have.
Note to a code block
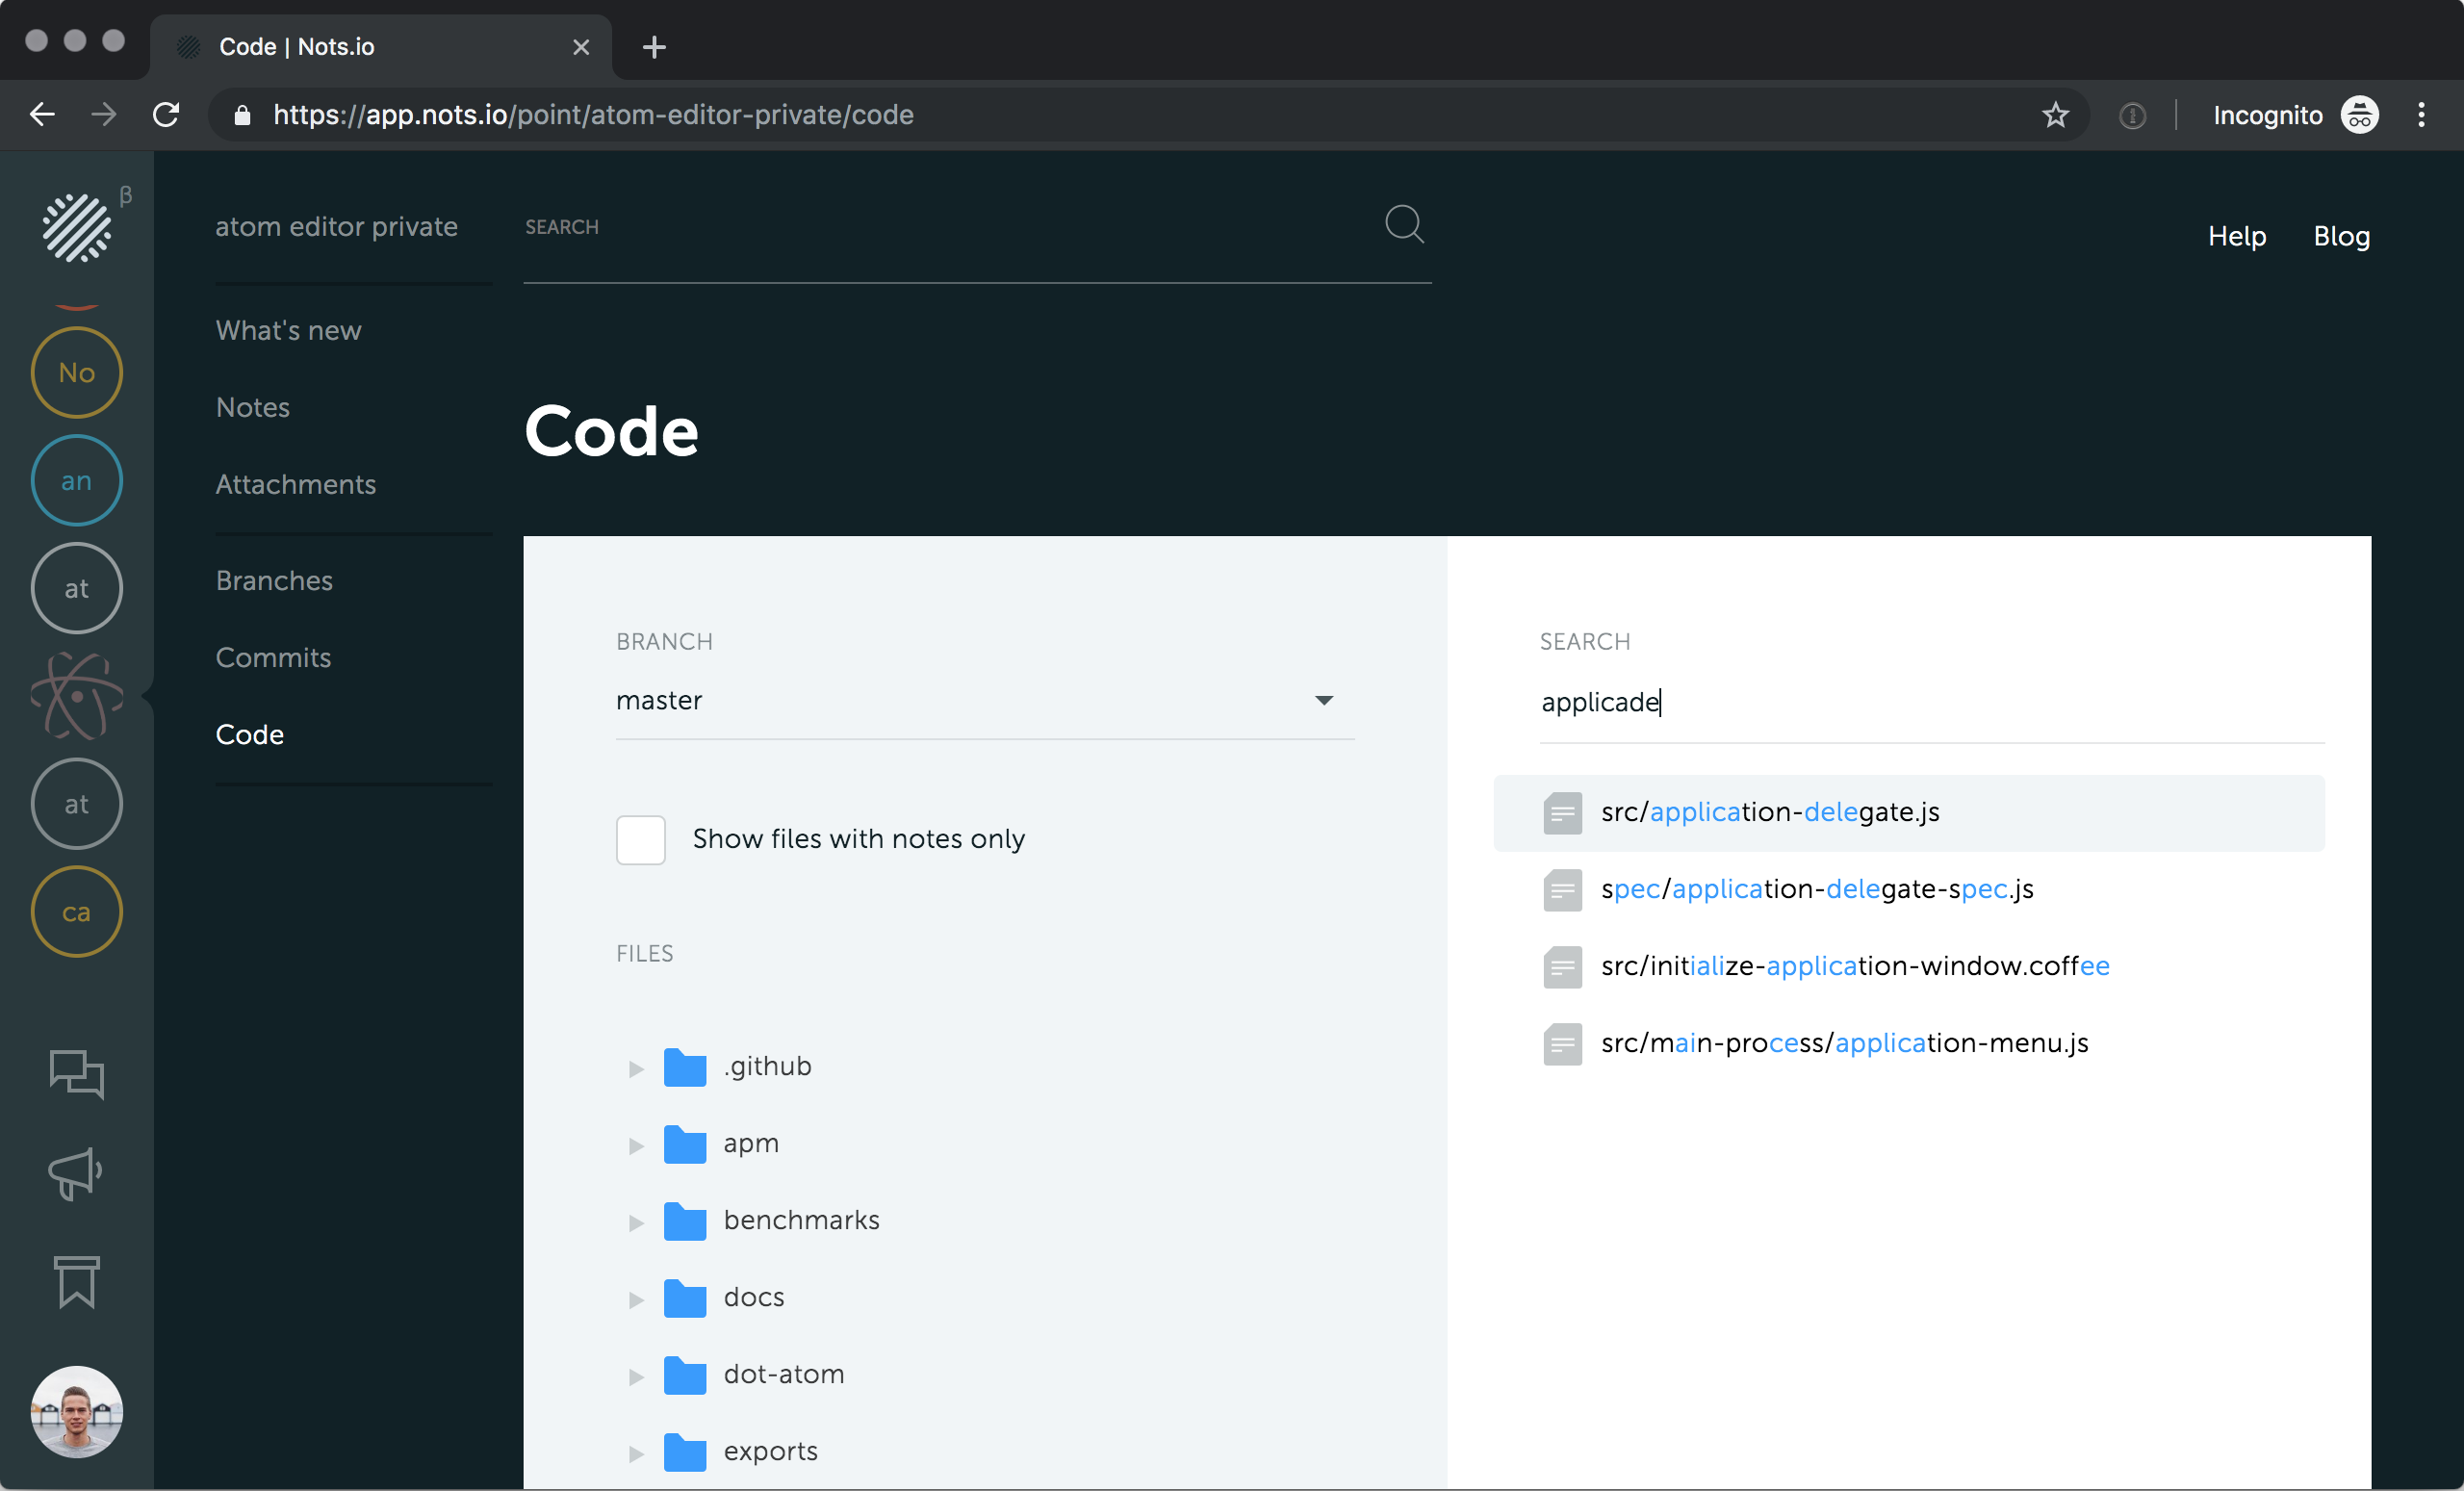
You should log in and choose a project on a dashboard page beforehand. Here's a guide on creating the project. Now click on “Code” in the sidebar menu, then switch branch if needed and find a required file in the project tree.

Or alternatively, use a search field on the righthand side. Start typing the file name to fuzzy-filter files list, and click to choose one.
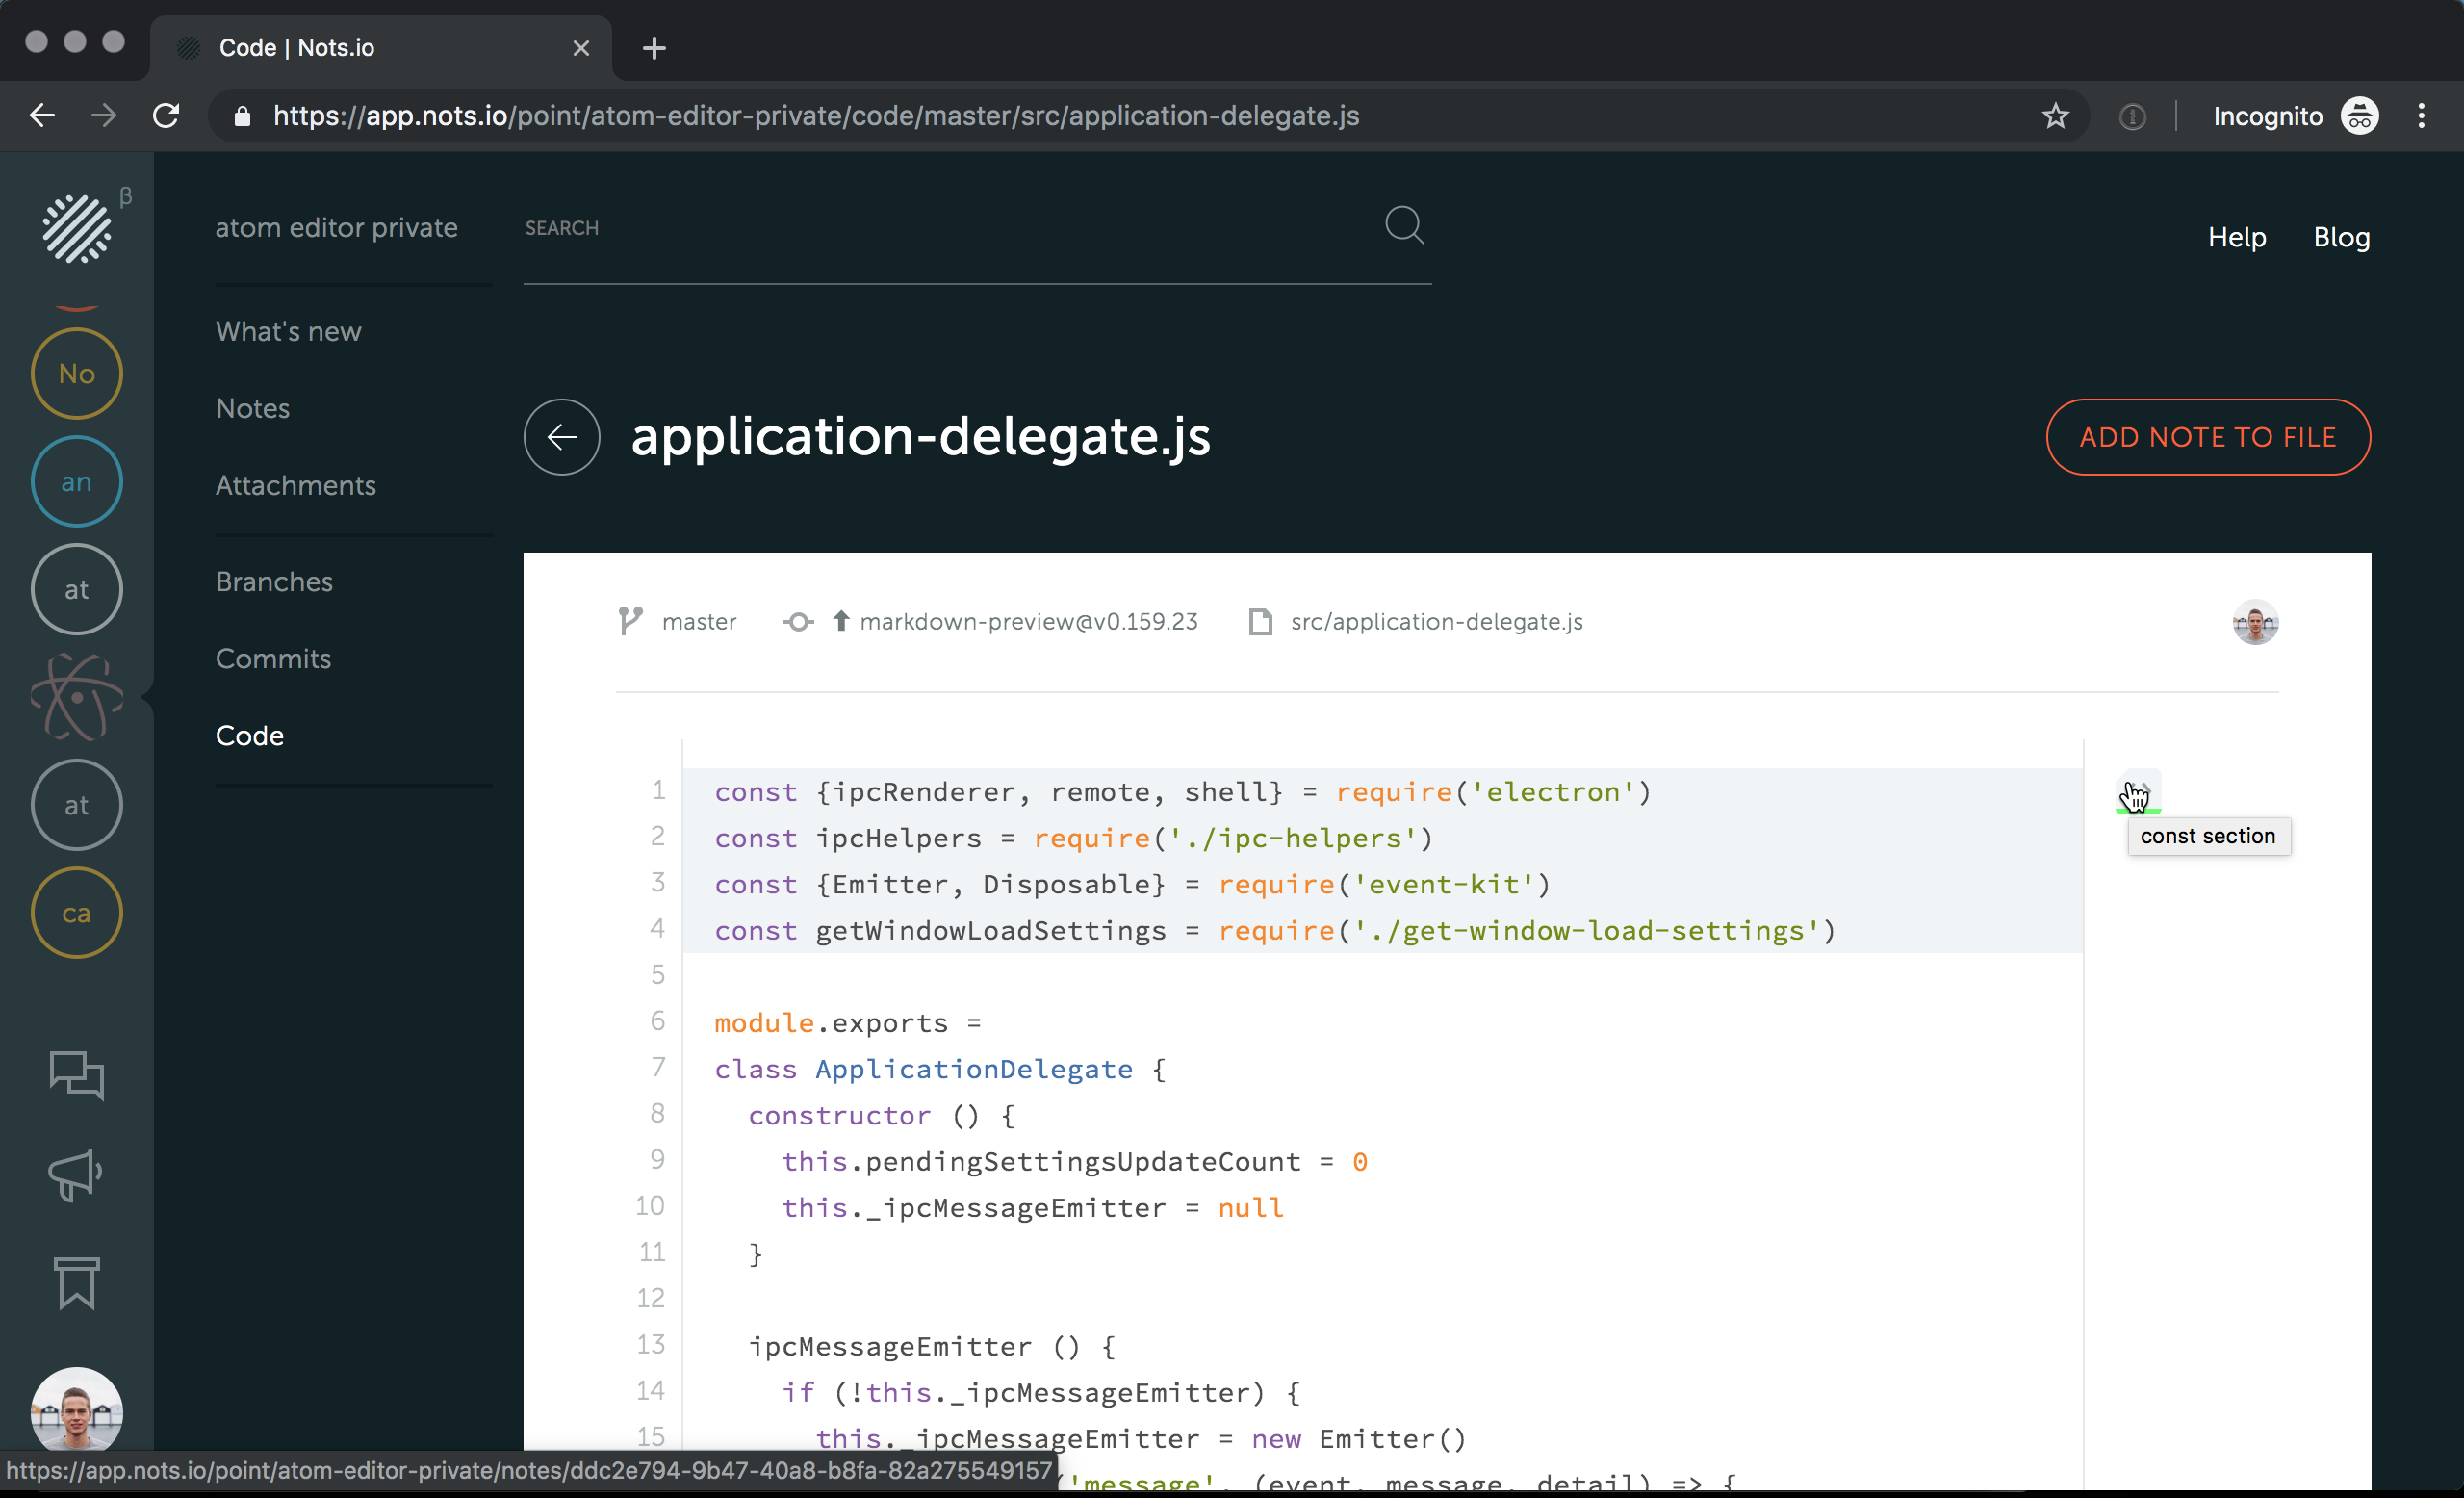
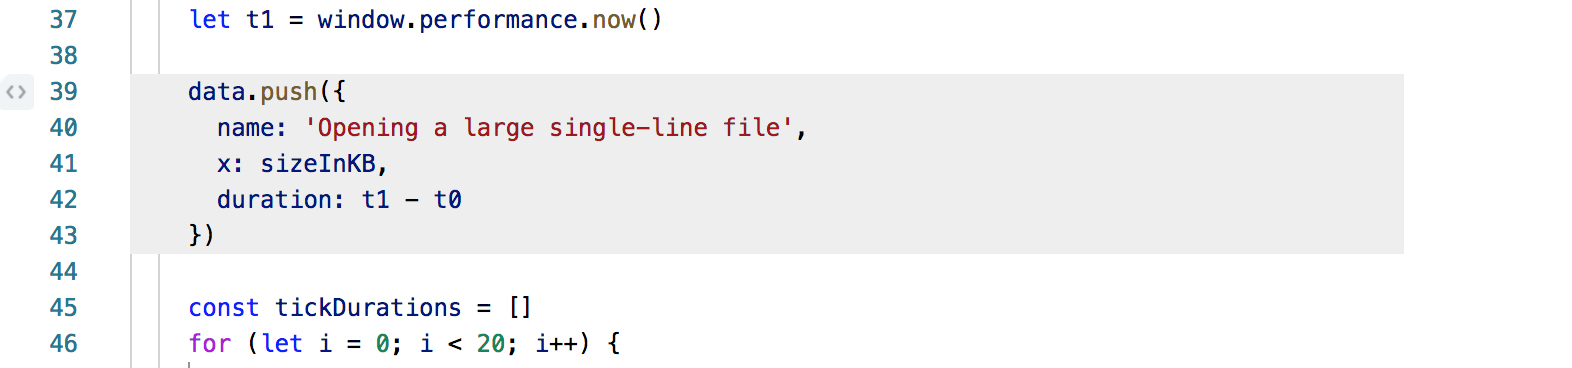
Now select lines and add a note.
You can hover over the note icon in the gutter to quickly preview its scope
Note to the entire file
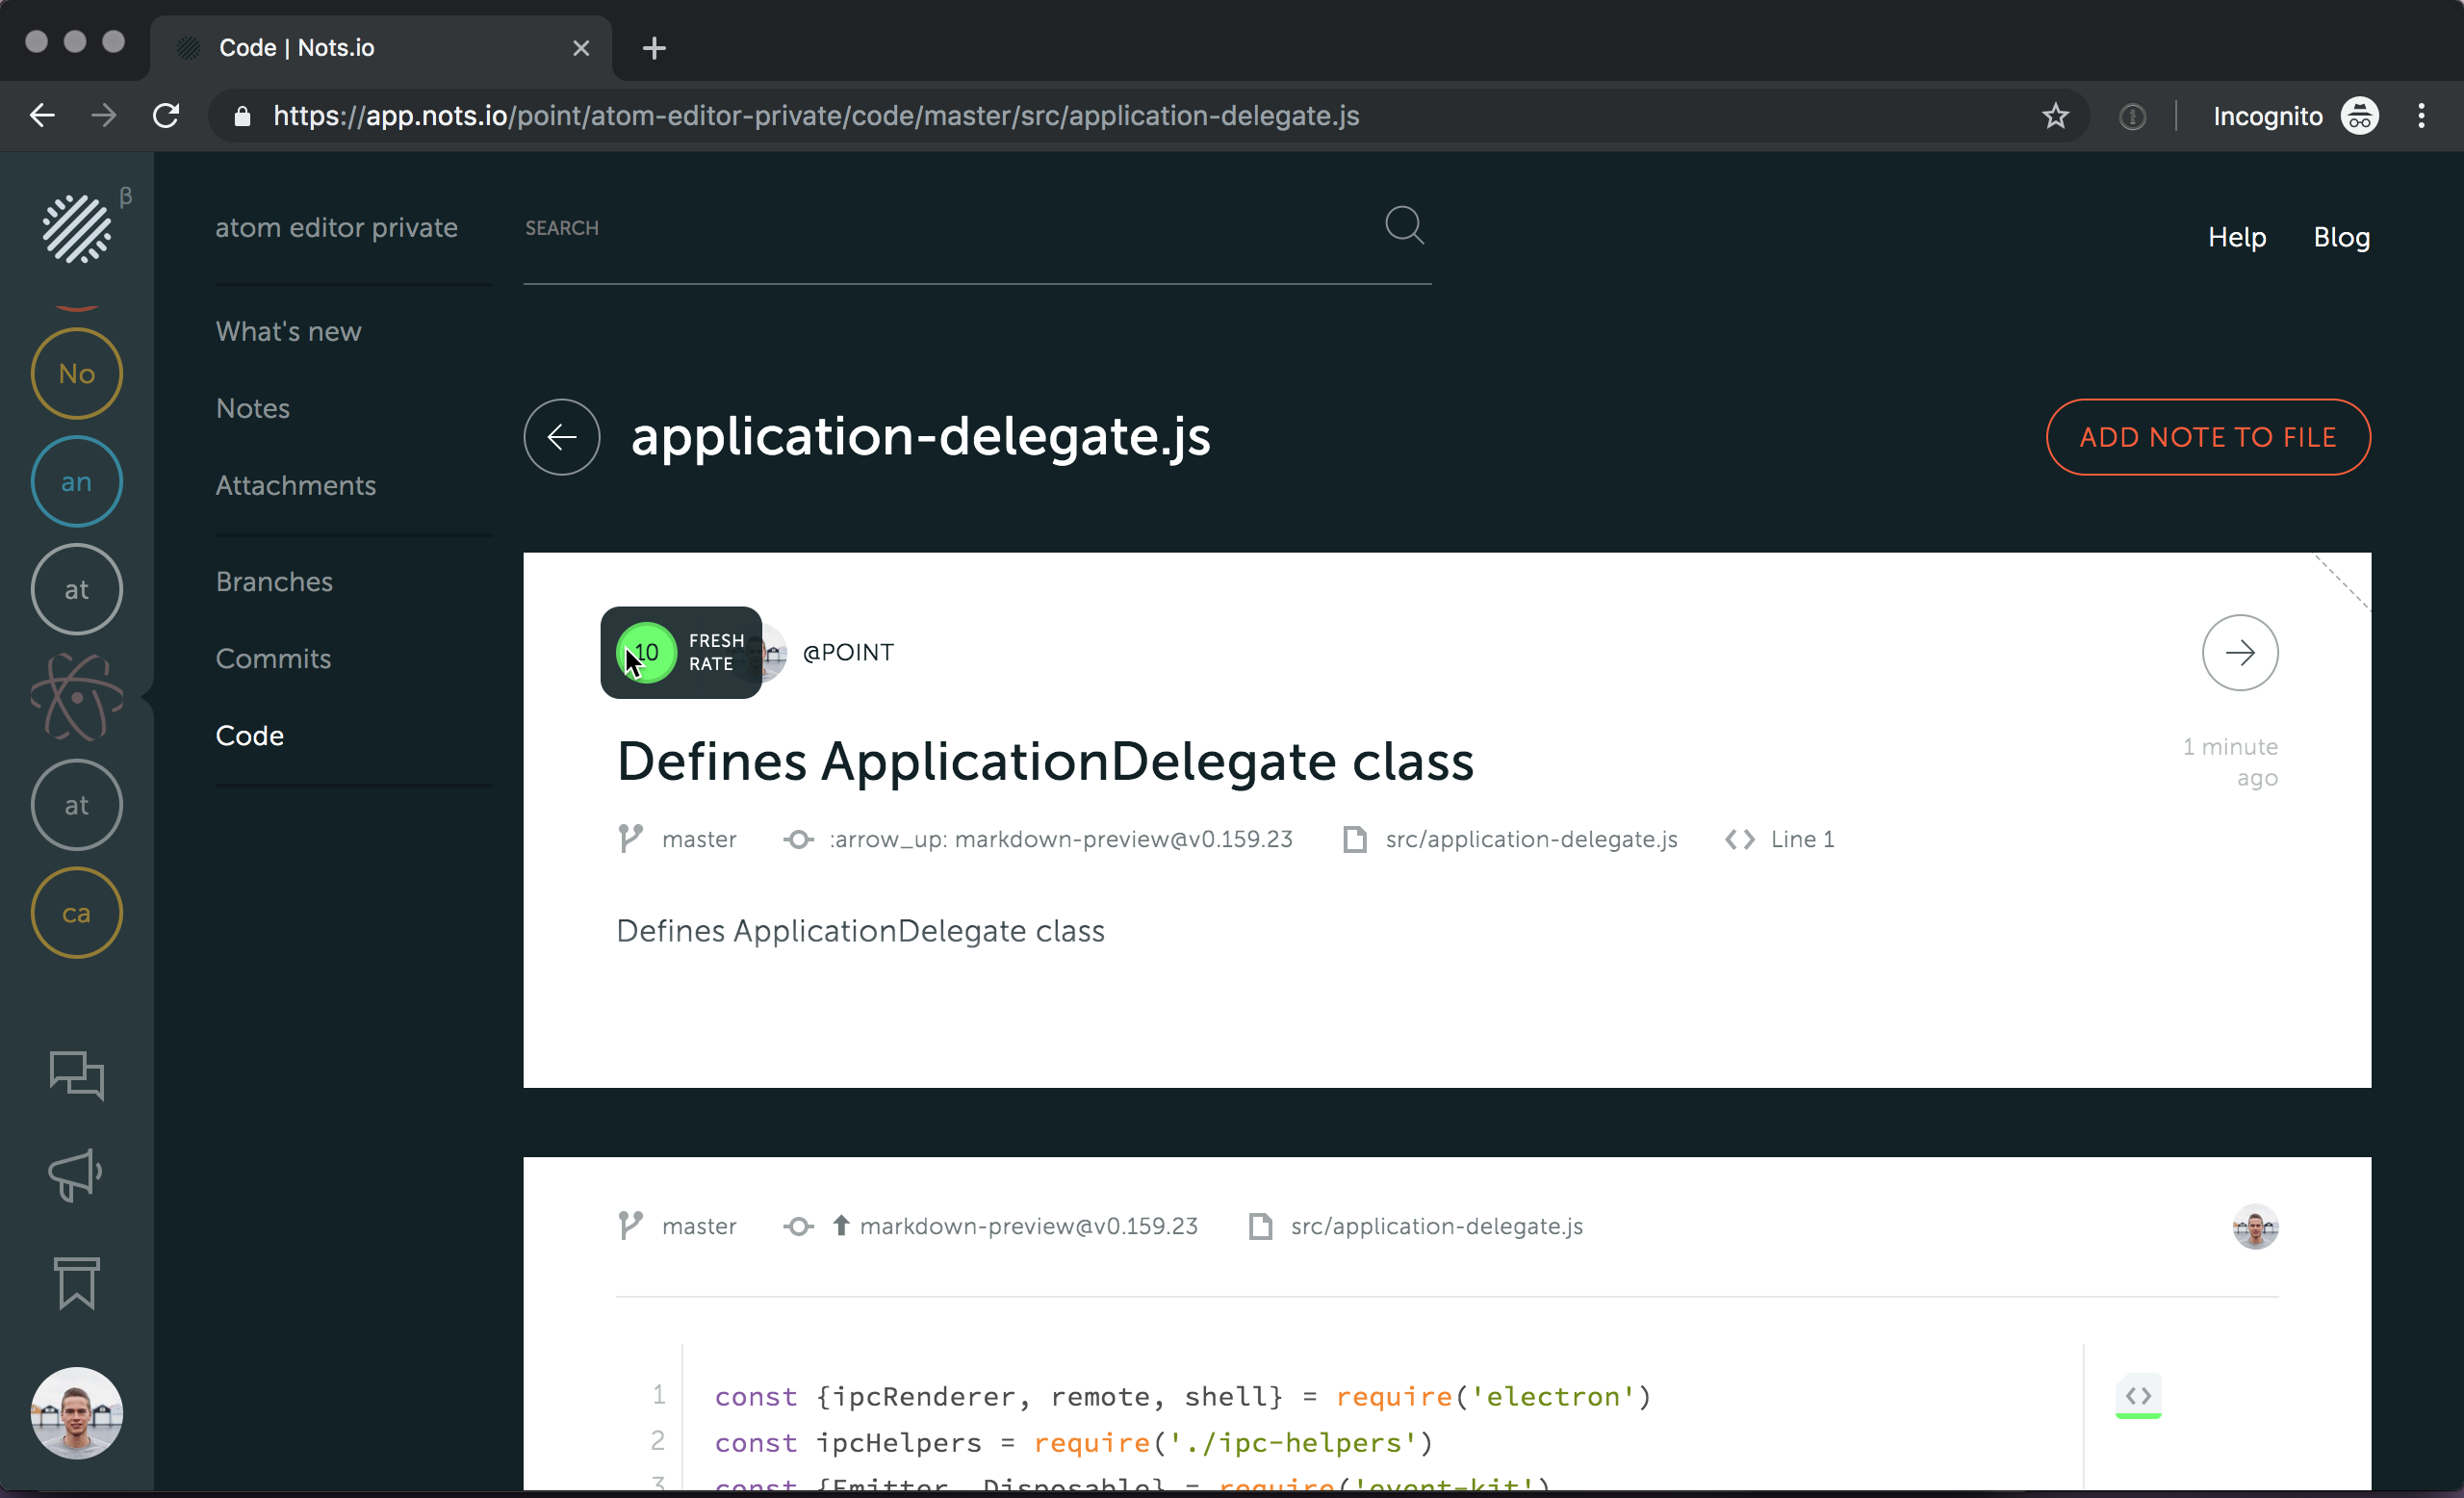
Click on Add Note to File to attach documentation to the entire file.
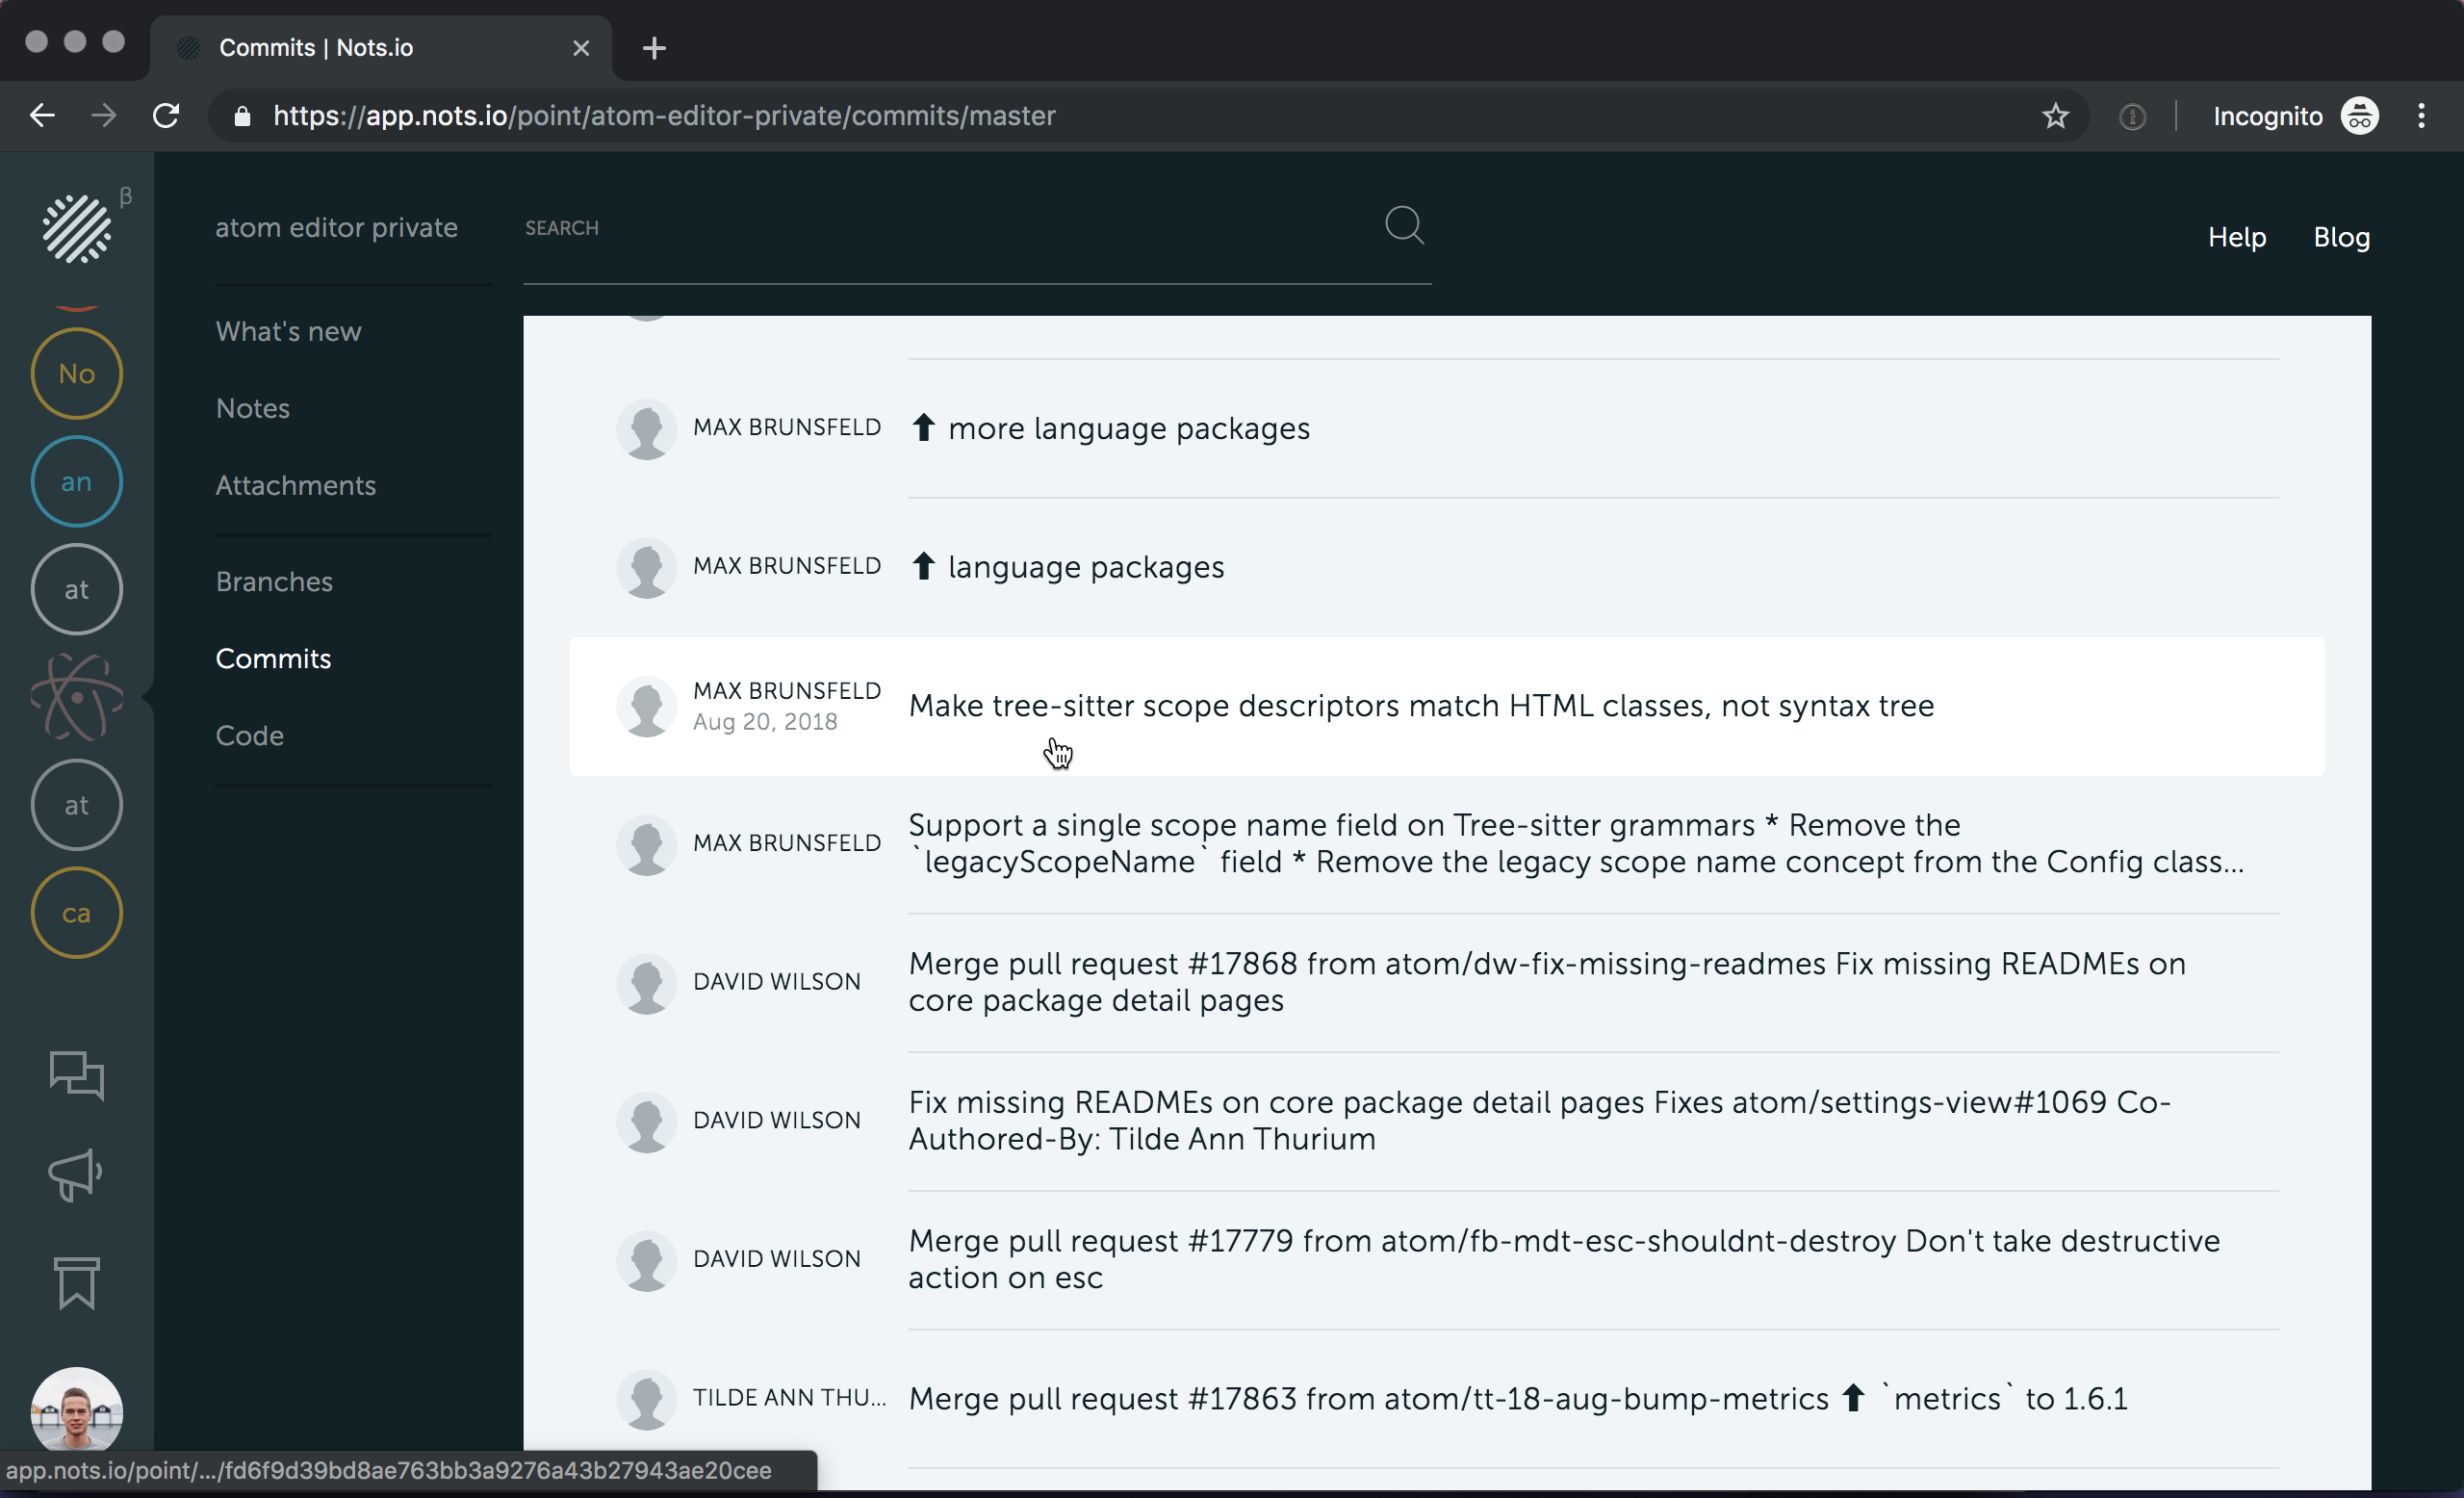
Note to the commit
Sometimes there’s a necessity to give a longer description of a commit than a usual commit message. To do that, click “Commits” in the sidebar menu, choose appropriate commit and click on it.
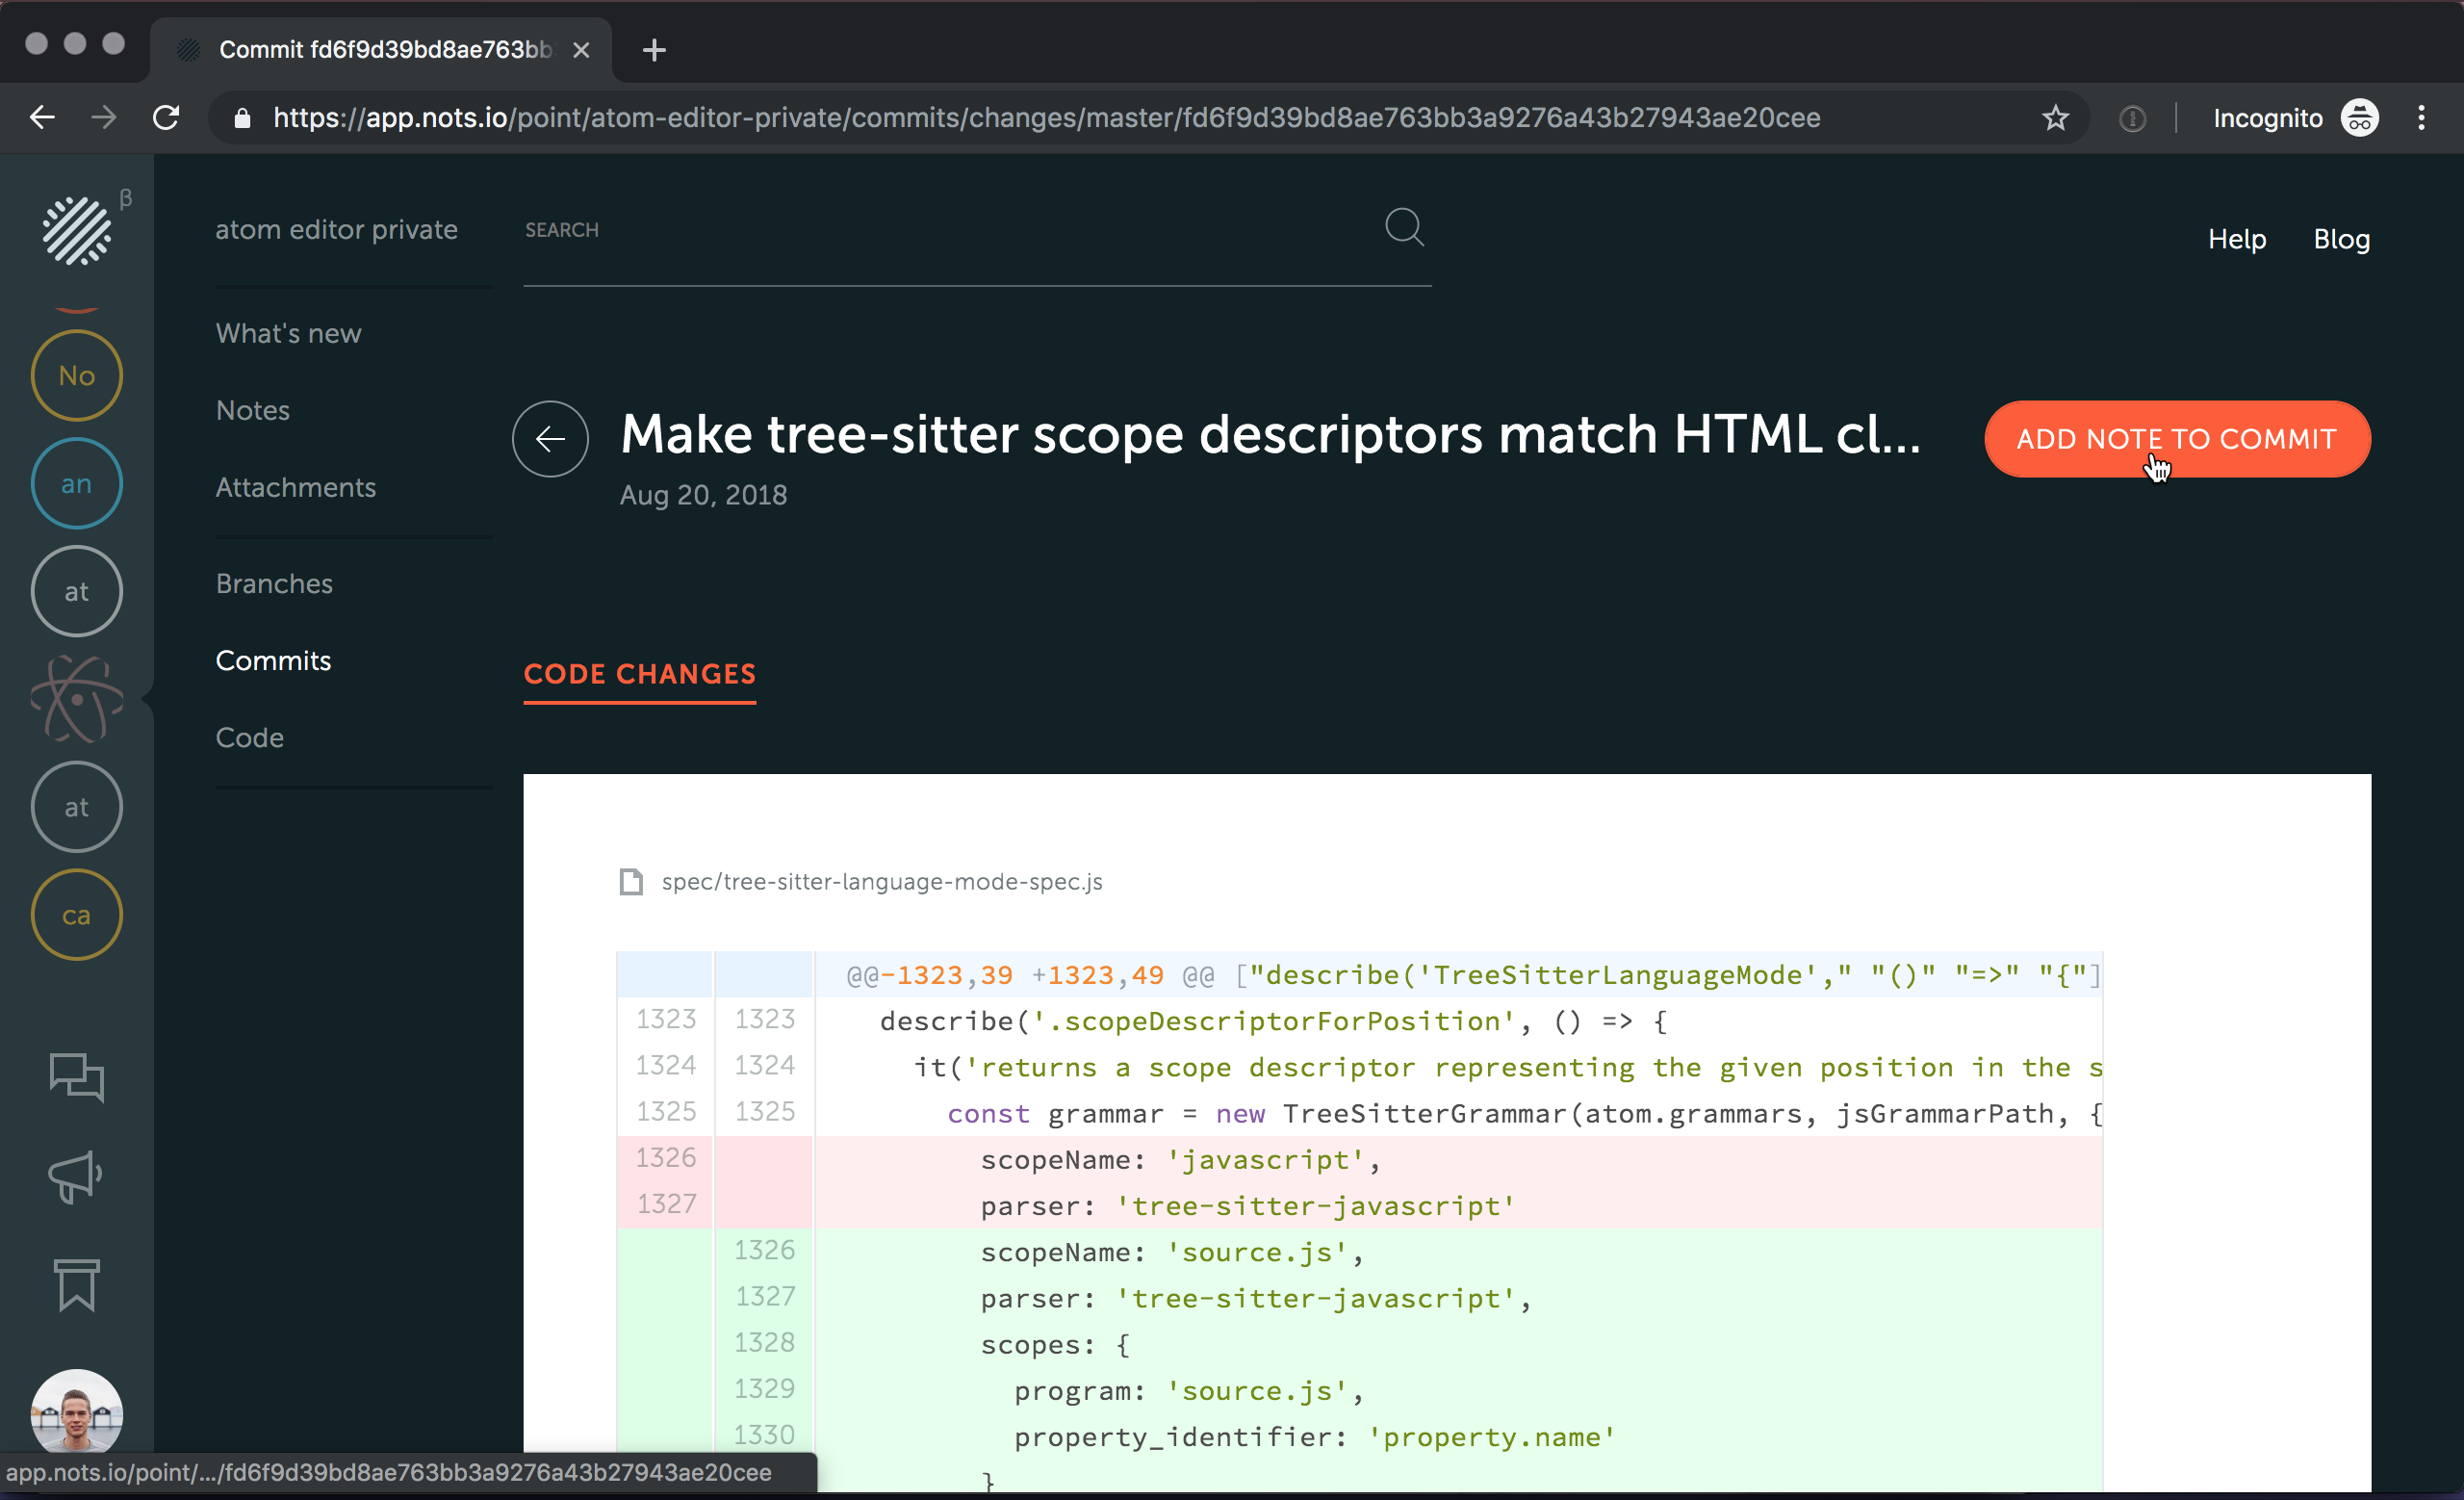
Here you can either add a note to all the changes this commit introduces. Click on Add Note to Commit button and enter the note text.
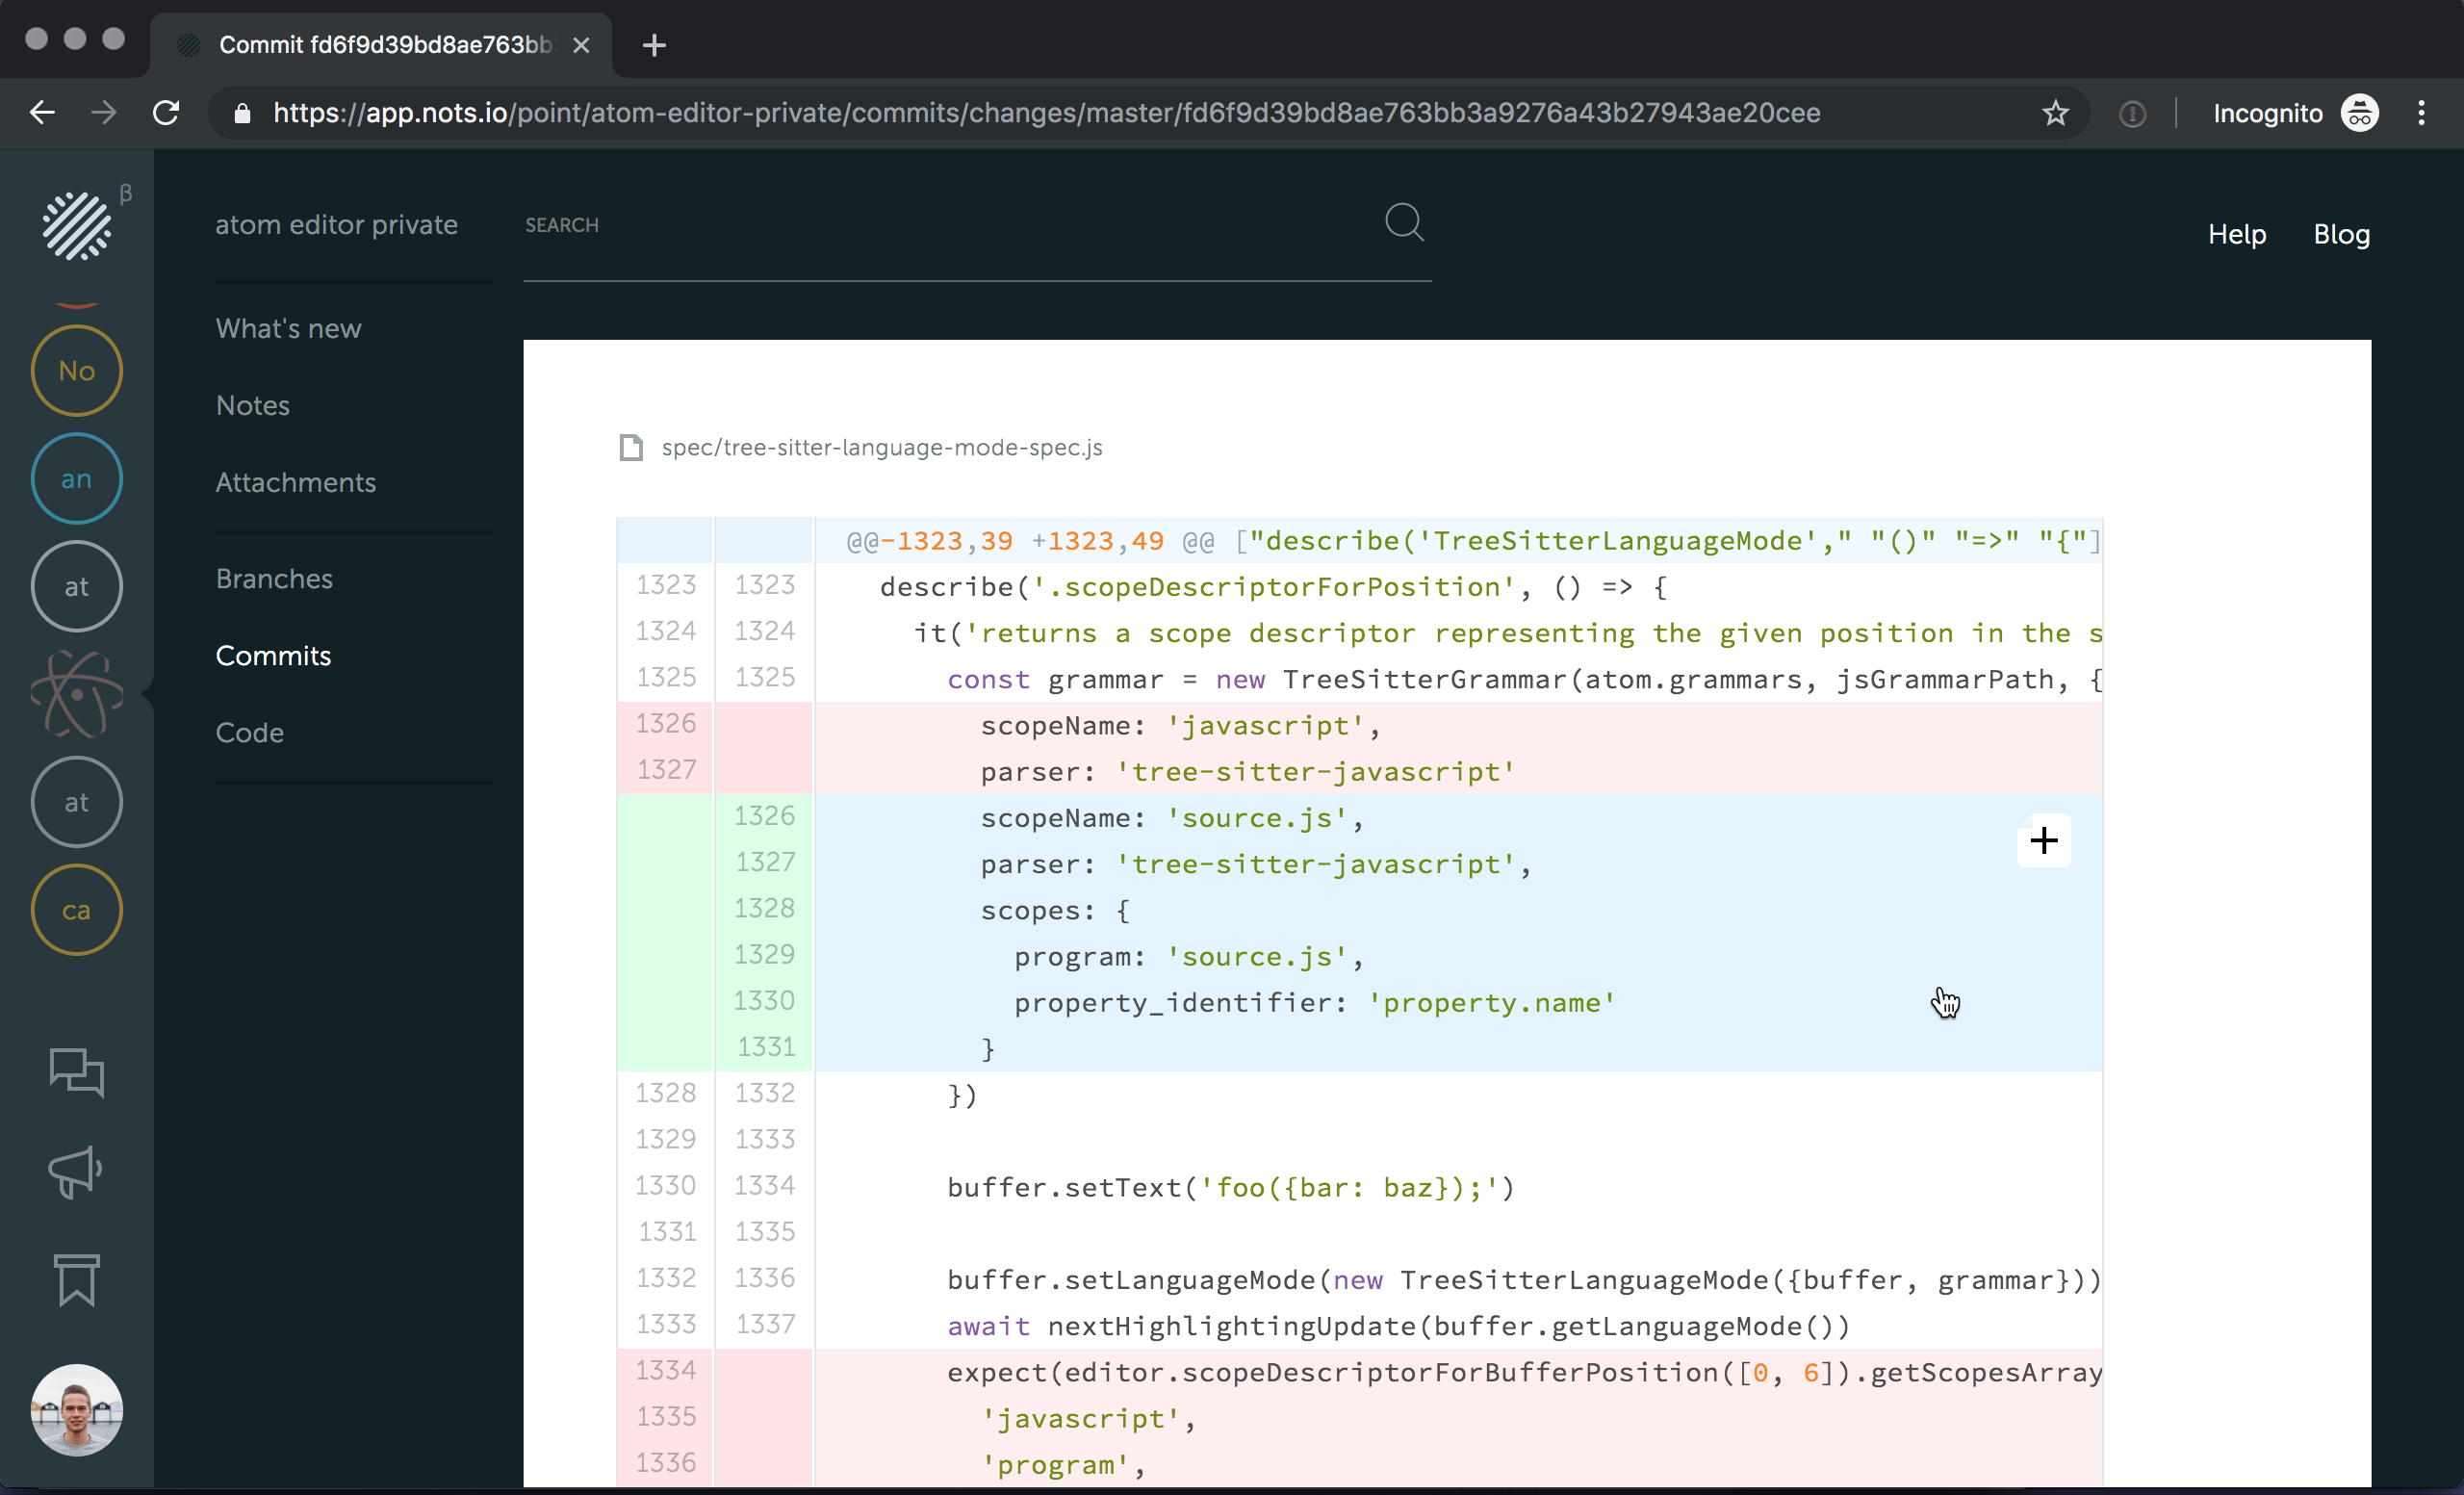
Another option you have is to add a note to a single diff hunk if the entire commit is too big for that. Just hover over the change area and click “+” button
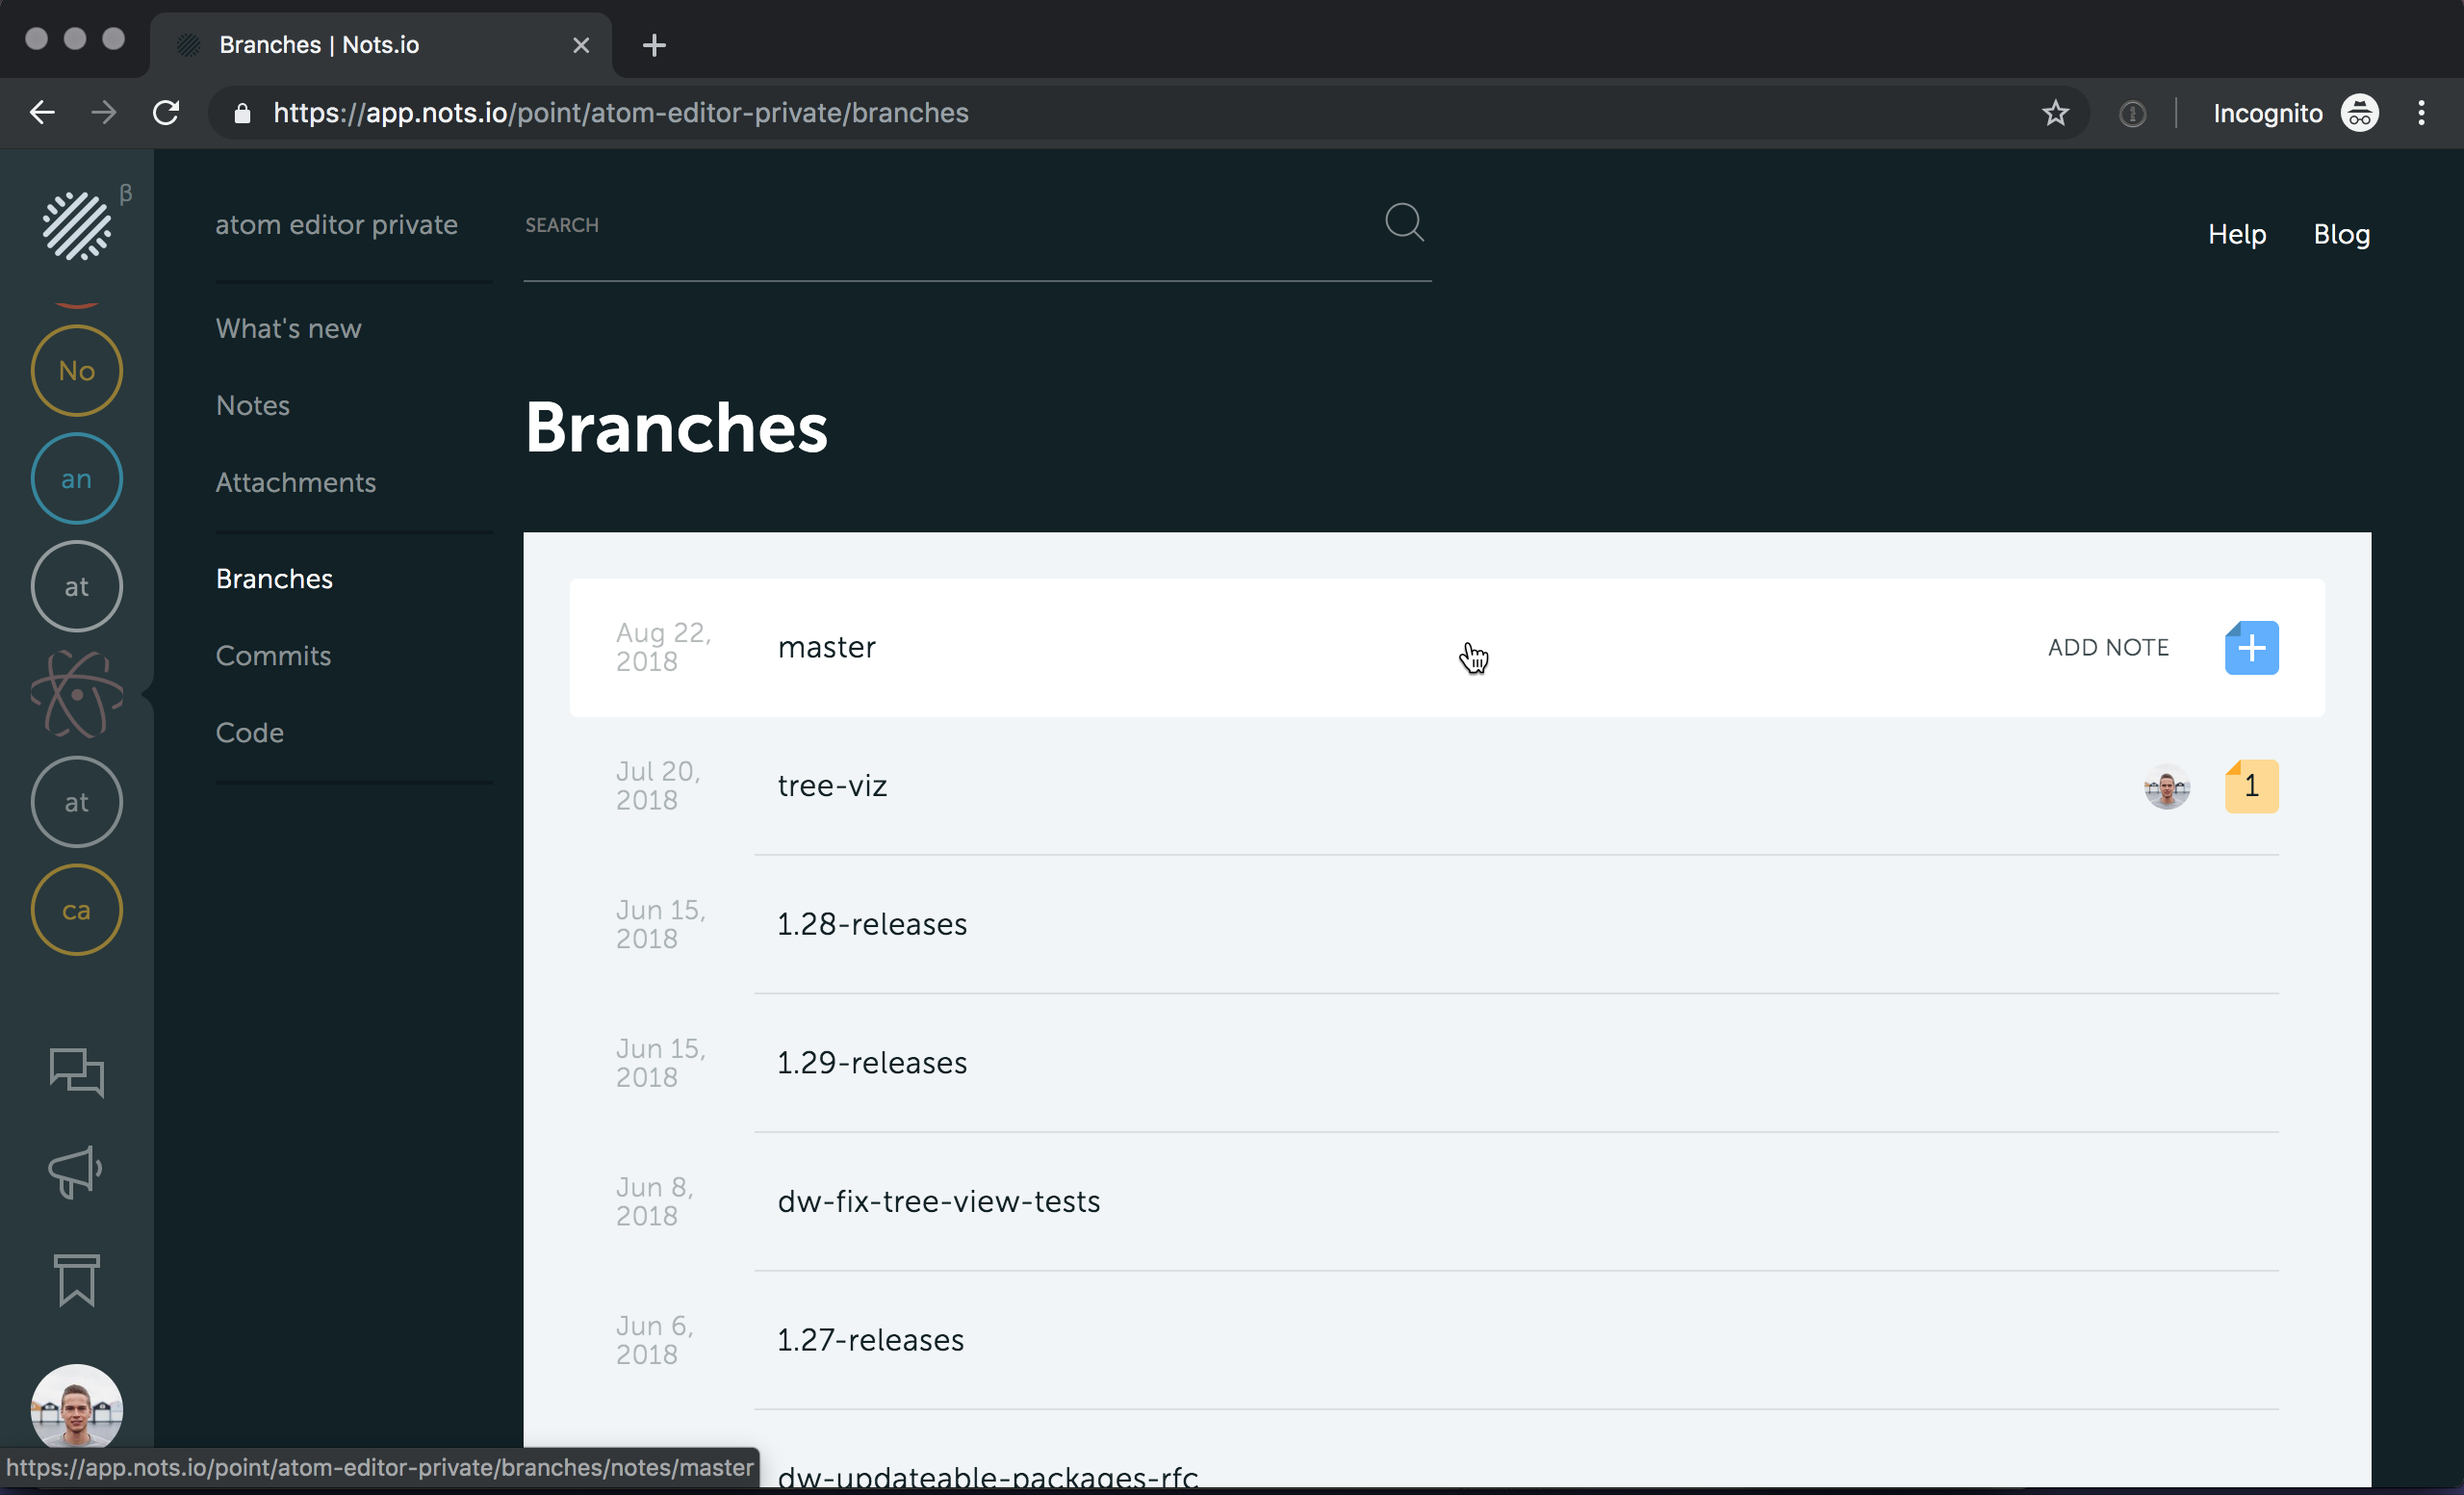
Note to the branch
This kind of note is useful for specifying larger parts of work. Once a note is attached to the branch, all the changes in this branch will get it. Among developers, it’s widespread to follow some git branching strategy, like git-flow. In this case, it would be useful to link a design spec or any prerequisites of work to the working branch.
Click on a “Branches” in the sidebar menu, choose a branch and click on it to make a note.
Fresh rate
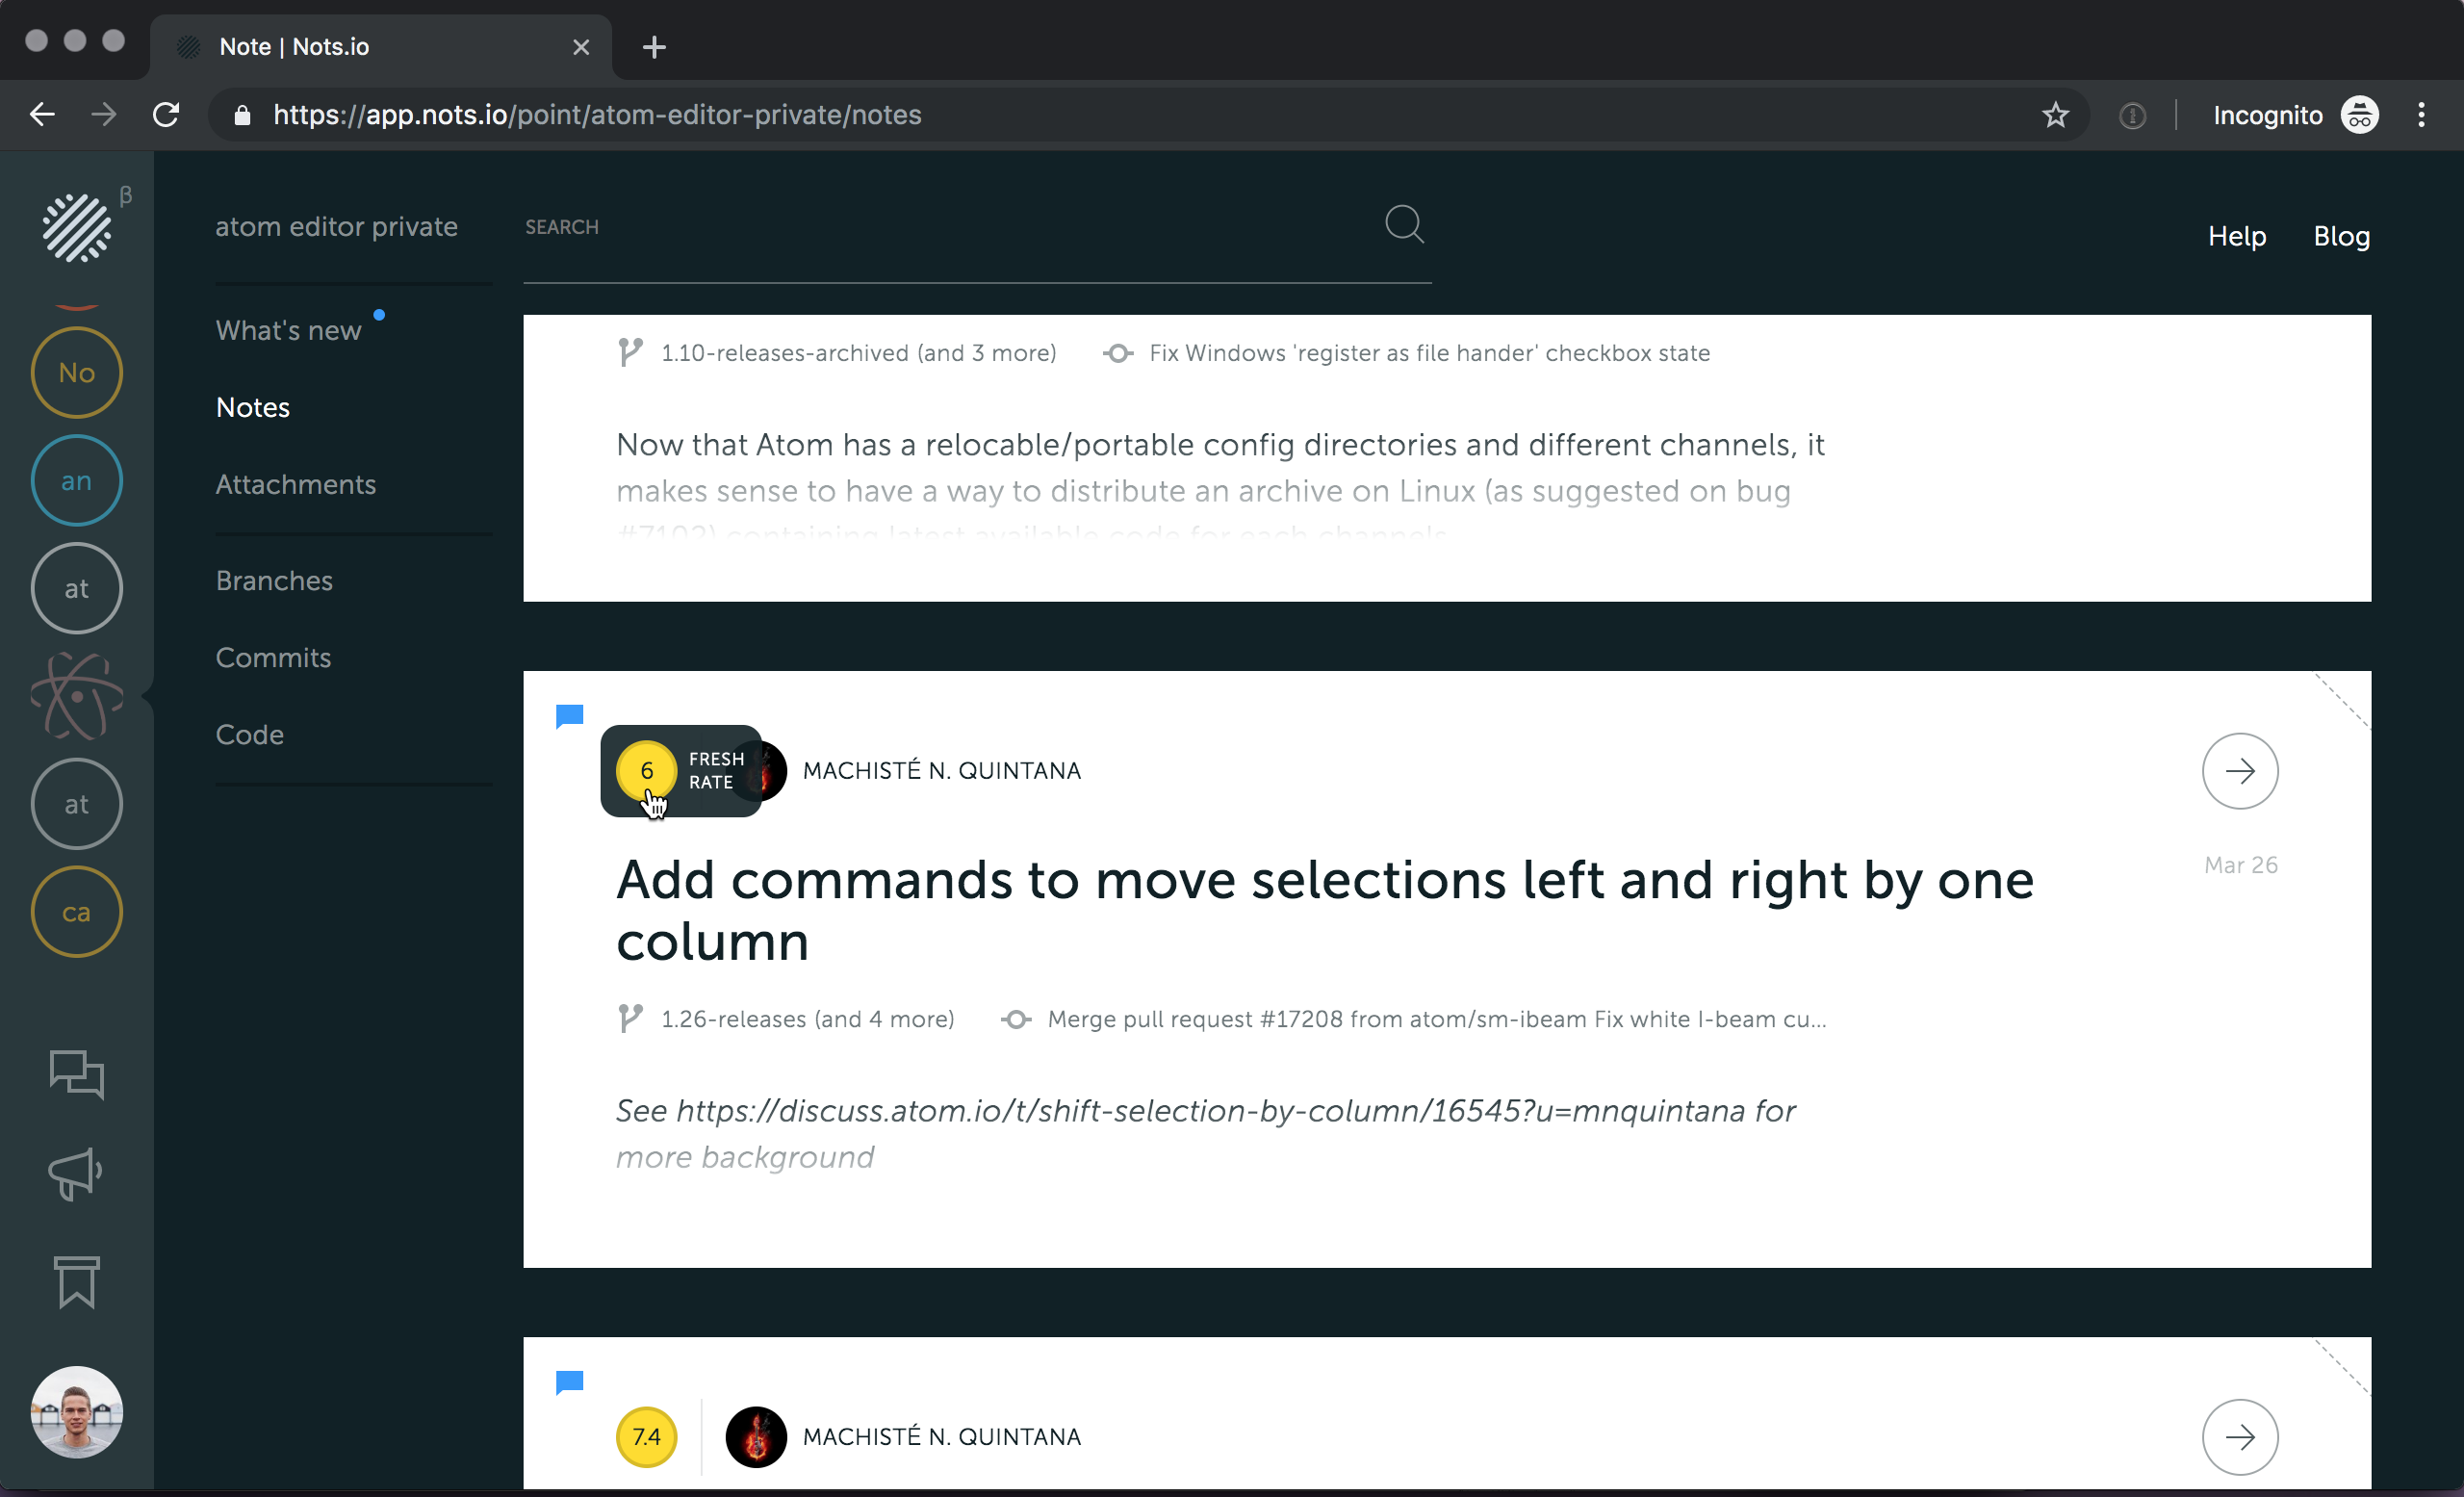
Nots tracks changes behind every note and when its code changes, we recalculate the fresh rate automatically. The newly created notes obviously would have a green value of 10 as a relevance indicator
The older ones may become rotten over time and lose their fresh rate
If you’re using IntelliJ IDEA family of products (CLion, GoLand, PhpStorm, PyCharm, RubyMine, WebStorm) or Visual Studio Code, you can install our IntelliJ IDEA plugin or VS Code plugin. Every note created through the web UI is visible in the gutter of your’s favorite IDE via the plugin. When you open the file, if there’s any note created in the terms of this file, it is displayed in the back panel. The note icon also shows fresh rate info with color stripe — from green of fresh a note, to dark red of irrelevant one.
Hover over the note to highlight the scope of the note or preview a title. Click on it to visit the Nots detailed information page with full note text and discussion below. Currently, plugins work in a “read-only” mode — only hover and click operations available. But we’re working hard to improve plugins so they support adding notes right from the IDE.