Most modern knowledge-base tools go the developer-centric way and propose everybody to create literally endlessly nested pages hierarchy. No doubts, it gives limitless possibilities for shaping up your structure. But with great power comes great responsibility. It’s really easy to create so much nested levels of pages so that it becomes harder and harder to maintain its sanity.
That’s why instead of doing another tree-like structure for Nots, we decided to go by the way of attaching tags (or labels) to the doc. Tags provide a clean, two-level-deep structure which is easily perceived.
Here’s a short instruction on how to operate with tags in Nots. They are managed under the new menu item called “Tags”
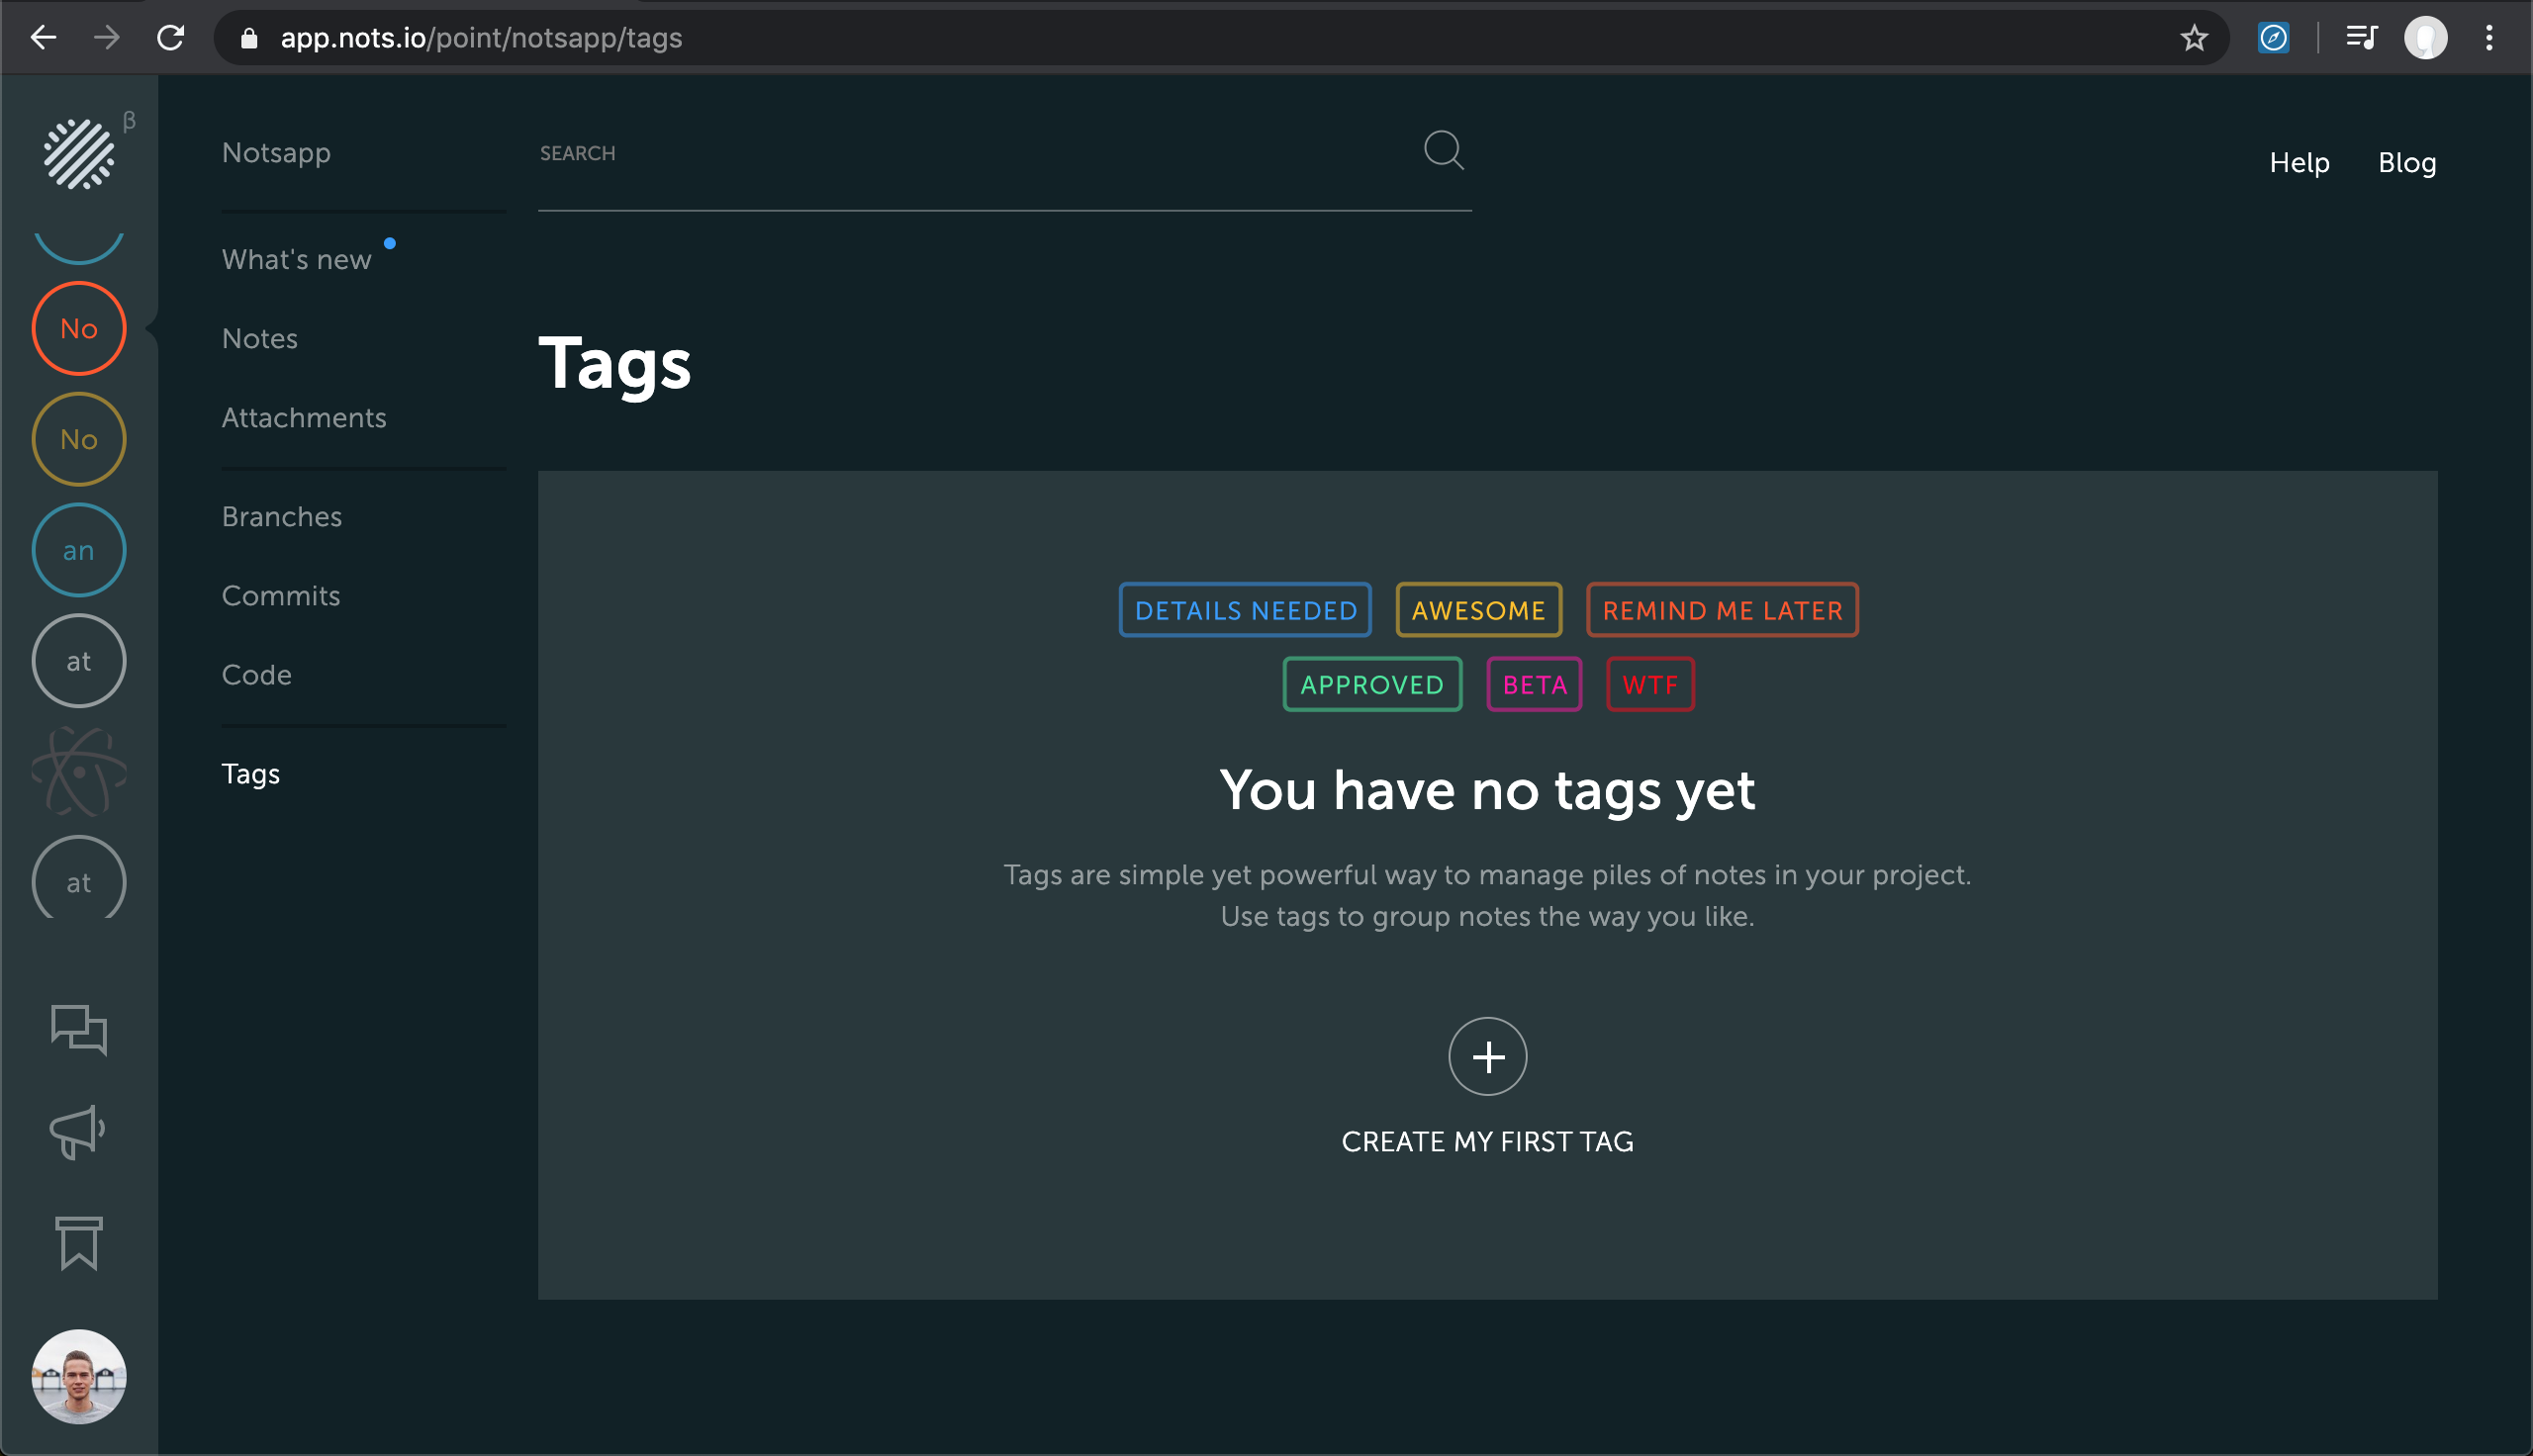
You can create a new tag either on this page beforehand by clicking “Create My First Tag” and enter its name and color code, and later assign this newly created tag to some document
Or you can click “Add Tag” when viewing the note, enter a new tag name and color code, then click “Create Tag” or “Add Tags” right away. Here’s an example of adding a tag for Release 1.7 and giving it orange color code

This will create a new tag and instantly assign it to the note you’re on right now. Click on the label in the menu bar to filter docs with this tag only.
To change the name and color code of already created tag, click on “Tags” menu item, hover over the tag. Edit and Delete icons are shown. Click on edit and make changes

It’s that easy!
With tags in Nots it’s possible to build up to two levels of hierarchy to get a higher-level structure for your docs. The first level could be encoded with the color. For instance, yellow is for backend-related docs, blue is for frontend ones, and purple is for documenting UI changes in the project.
The second level is the text you assign to the tag. For example, the tag “Release 1.7” colored in blue stands for some frontend docs, which were introduced in version 1.7 of the product. But instead of complex filesystem-like tree structures, we represent it as a nice, easy to grasp list.
This would be very helpful for those who want to get 10 000 feet overview of what kind of documents exist in the project without diving deep into technical details. Or for a newcomer, who doesn’t know every little convention (yet), like project’s files and folders structure and naming, or repository management principles. But who willing to quickly get a full picture of the company’s internal knowledge. Go start using them today!